My tomatoes this year were great!! They taste so good and the timing was perfect from early to late. Saving seed to grow your tomatoes is easier than you think. It's also a great way to use leftovers that you have when you're done eating them. So let's begin....
Here is the culprit. A gelatinous sac surrounding our seed. It prevents the seed from sprouting in the tomato with germination inhibiting hormones. Good when in the tomato, but not for planting. To remove the sac and to kill many seed born diseases we're going to simulate what a ripe tomato would normaly do. Rot or ferment.
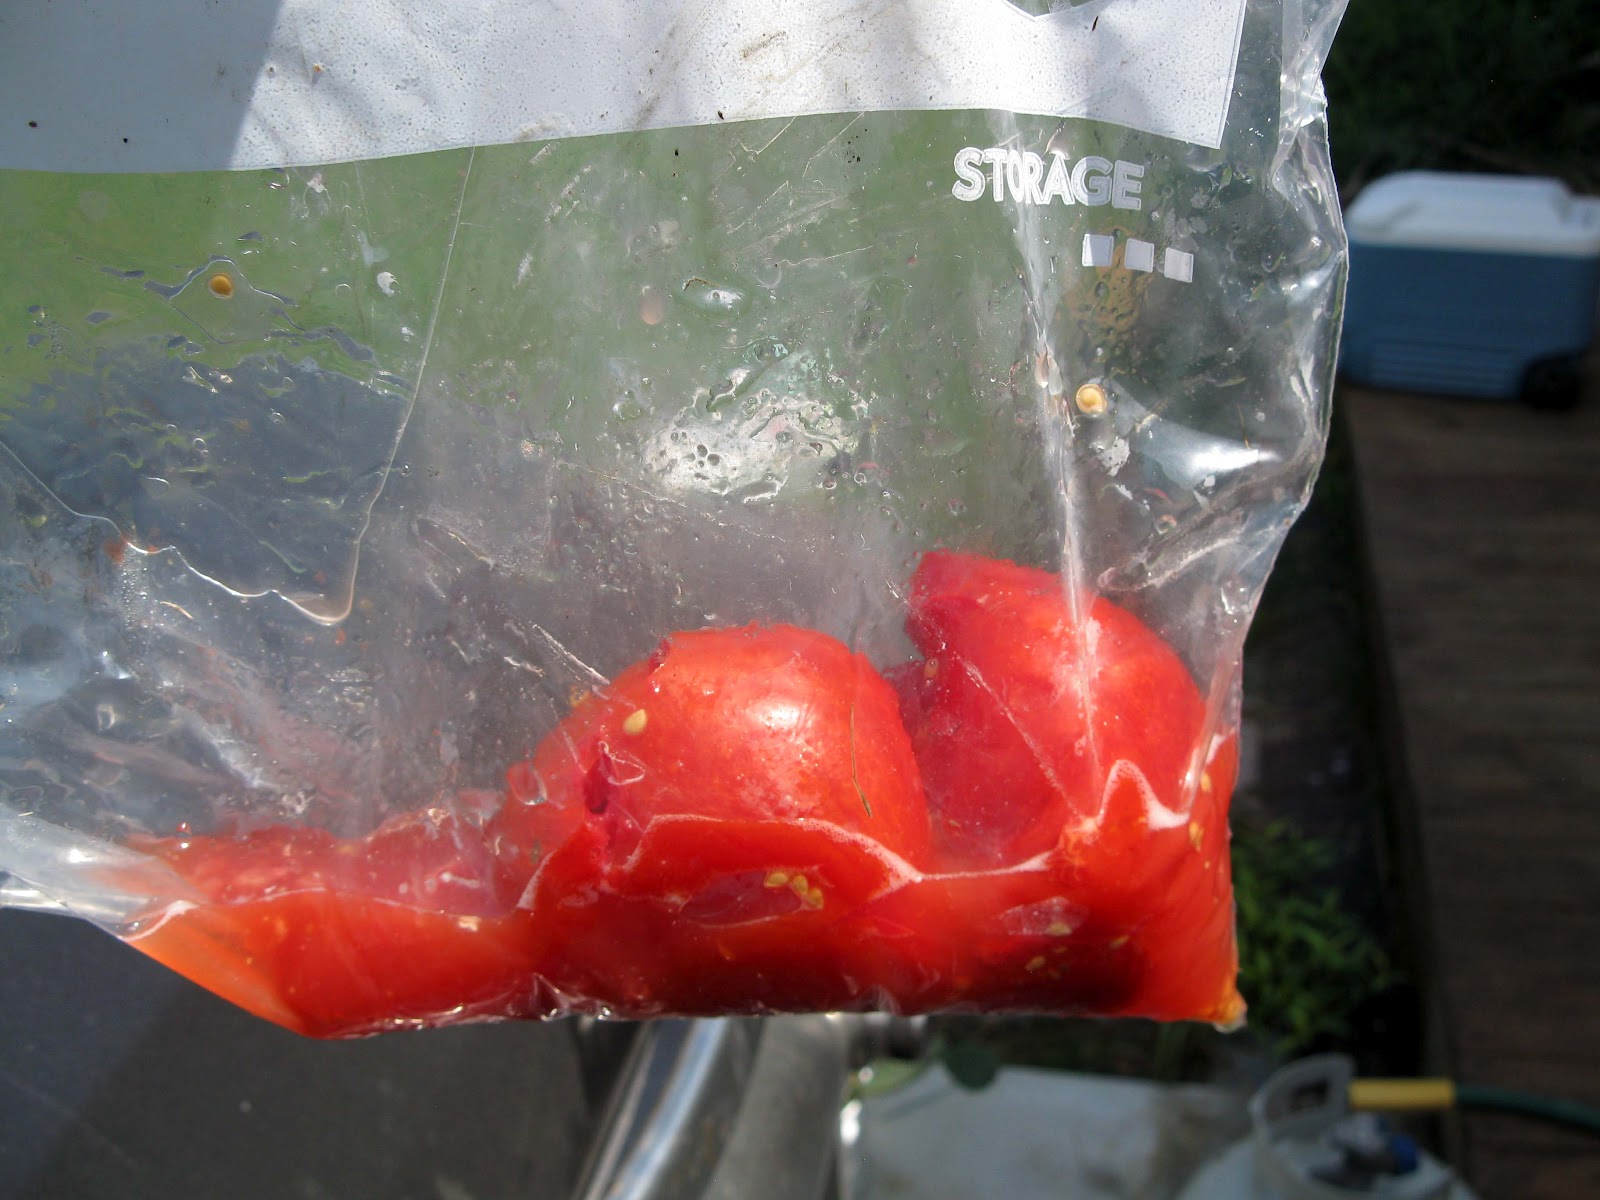
Put your past due tomatoes, lefovers, or the ones you want to keep in a bag. You could use a bucket or whatever.
Set them in a warmish place out of direct sun to ferment for 2-3 days. Don't go too much longer because the seeds may start to sprout.
What about cross polination between varieties?
According to my
seed to seed book the style (flower part) of most modern tomato flowers is so recessed that cross pollination is very unlikley. So don't worry, just put the ones you like in a bag. Keep different bags labeled and seperate unless it's obvious.
After 2-3 days you should get a nice patina of mold. No big deal, it's what nature intended.
I poured mine in a pan for the visual but I'm sure you could do the next step in the bag.
Add some water to your mushy goo.
Seeds sink to the bottom. You'll want to have a coffee filter handy. It dries them out well and they don't stick to it. Scooping them out is the slow way though.
Since the good seeds sink and most of the tomatoe gunk floats. Fill up a cup and pour off the supertenant liquid (liquid on top)
See they're all on the bottom.
Add some more water and pour again. They're all cleaned up now!
Put on coffee filters and set the filters somewhere to dry where they won't blow away.
Don't forget to label. I forgot the names from these seeds. I do have a great incidental memory though, so I'll just substitute that : )
So to start your seed you find your packets. My wife helped me. This one happened to be in a basket we were using to hold fruit. Somehow I forgot it was there all winter. I wrapped it in a towel and labeled with non water soluble ink.
Then you get a cup, put some water in, and add a couple drops of bleach. The bleach will stop all the mold from eating your seeds and making things stink.
Put your towels in, and cover with plastic bag. Put somewere warm for germination. Don't wory capilary action will pull water up these dry towels from below. They are made from the xylem of trees after all.
All sprouted and ready for transfer.
Newspaper pots arn't that hard to make here's how.
You fold it in. If you want you can tape it too, my taped ones held fine. They do get kind of weak after a while so you may have to re-enforce with another piece.
There's all sorts of stuff you can put your seeds into. Just get it in there. Then put plenty of light over that seed! The more the better. It makes thick stems, otherwise they will get all spindly.
Here's a couple of them in various containers. I did some grapes too as seen on the left. To grow a grape from cuttings you just clip the stems off in early spring, dip in root powder, and put in a pot. If warm they usually grow roots and leaves, then you put em where you want em.
Here's a pic of just tomatoes. My favorite method was to use those little peat circle starters, then transfer into a newspaper pot and fill the gaps with dirt. That's what these ones are.


No comments:
Post a Comment